Outsource the embedded vault database
By default, the embedded password vault stores its aliases in the platform's own database. It can store them in a database hosted on another server instead — on your own database server, under your own backup and retention policy.
This page covers the move for a vault in Embedded mode.
Prerequisites
- A database server reachable by the platform, running a supported engine and version. The supported engines and versions are listed in the compatibility matrix — check it rather than relying on the version you already have in production, as support for a version ends without anything in the console saying so.
- A service account on that server, with its password.
- If the connection is to be verified, the certificate of the authority that signed the server certificate, in base64.
Step 1 — Open the vault access configuration
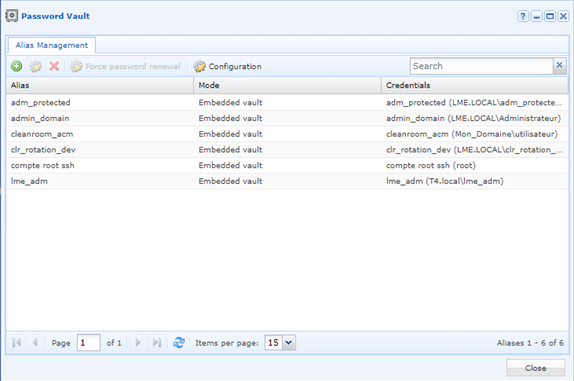
Sign in to the administration console and open the Password vault module, then click the Configuration button in the toolbar.
The Safe access configuration window opens. It shows a single Remote database box, collapsed. Tick it to reveal the fields.
Step 2 — Describe the remote database
| Field | What to enter |
|---|---|
| Database type | The engine of the remote server. |
| Server | The host name or the address of the database server. |
| Port | The port the engine listens on. |
| Username | The service account used to reach the database. |
| Password | The password of that account. |
| SSL usage | The verification mode applied to the connection. |
| Certificate authority (base64) | The certificate file of the authority that signed the server certificate. |
| Site | The site through which the platform reaches the database server. |
The SSL mode governs the certificate field
The modes offered depend on the engine selected, and the certificate field follows: a mode that verifies nothing leaves it unused. Use a verifying mode whenever a certificate is configured on the database server — the field description is in Vault access configuration.
Click Validate. A connection test runs against the values entered. If it fails, a Connection test box appears in the window with the reason.
Step 3 — Decide what happens to the existing aliases
Once the connection test succeeds, the Database switch settings window opens with two options:
| Option | What it does |
|---|---|
| Create the new database | Creates the database on the remote server. |
| Transfer existing data in the new database | Copies the aliases already declared into it. |
Without the transfer, the existing aliases do not follow
Switching database without ticking the transfer points the vault at an empty database: the aliases already declared stay behind and the accesses that rely on them stop working. Tick both options unless you deliberately want to start from an empty vault.
Tick the options you need, then confirm.