Installation of the CyberElements client
The CyberElements client is installed on the user's workstation and is required for the following actions:
- Compliance checks requiring access to the OS:
- Anti-spyware
- Anti-virus
- MD5
- Browser
- OS
- Firewall
- System
- Launching applications that cannot be accessed directly from the browser (SSH, RDP, VNC, VPN, or generic tunnel, among others)
Where can I download the client?
The client is available for download either in the administrator console or on the user portal.
Administrator console
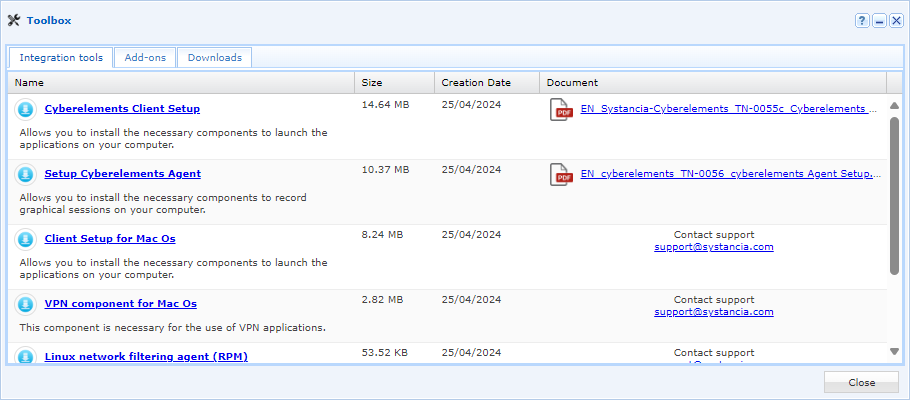
- Access the “Configurations” workspace using the button located at the top left:

- Open the “Toolbox” tile

- Retrieve the appropriate setup for the desired OS in the first tab “Integration tools”
User portal
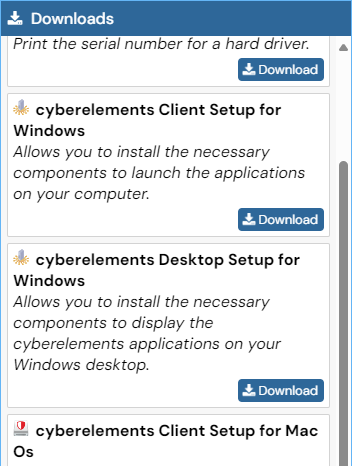
- Log into the user portal
- Click on the downloads icon located at the top right:

- Download the CyberElements client appropriate for your OS:
Installation of the Microsoft Windows client
Administrator rights required
Administrator rights are required to install the client.
Client compatibility
To find out whether the client is compatible with different versions of Microsoft Windows, refer to the compatibility matrix.
Graphical installation
- Run the
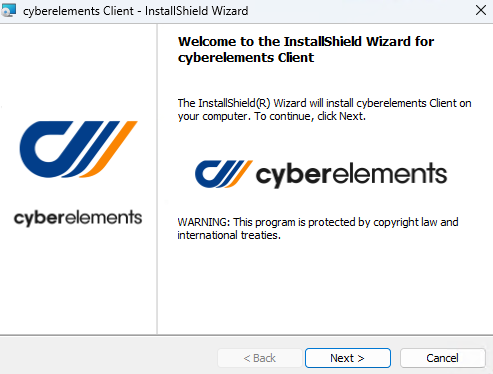
setup_cyberelements_Client.exesetup as an administrator (a request to run as an administrator will appear if necessary). - Click Next on the first window:
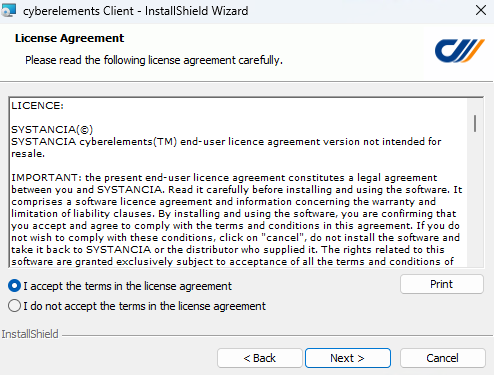
- Accept the terms of use:
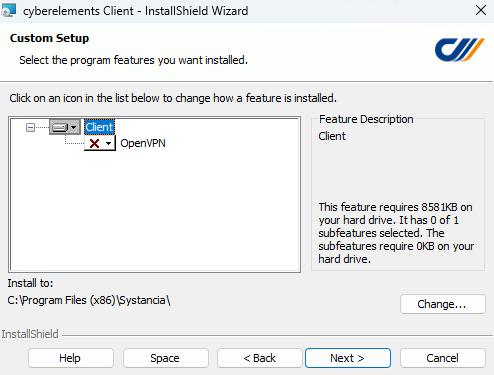
- On the third screen, specify the installation directory and install the OpenVPN components if standard VPN applications are available to the user:
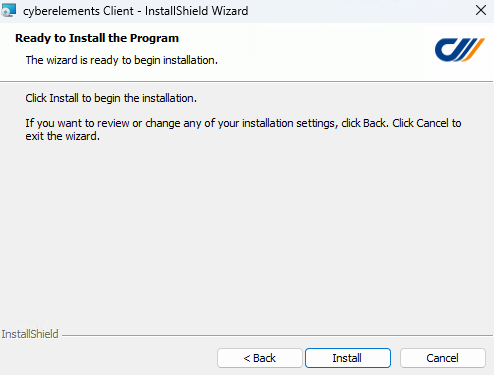
- Finally, start the client installation:
Silent command line installation
To install the client silently via the command line, there are two options available:
- Installation of the client only:
1setup_cyberelements_Client.exe /S /v/qn - Installation of the client + OpenVPN drivers:
1setup_cyberelements_Client.exe /S /v/qn"/L ADDLOCAL=OpenVPN"
Extracting the MSI
- Open a command prompt or PowerShell console
- Navigate to the folder where the CyberElements Windows client is located
- Run a command similar to the following, customizing the
C:\tempdestination directory if necessary:1.\setup_cyberelements_Client.exe /s /x /b"C:\temp" /v"/qn" - The
cyberelements Client.msiclient will be available in the directory defined in the previous step
Installation of the macOS client
Administrator rights required
Administrator rights are required to install the client.
Client compatibility
To check the client's compatibility with different versions of MacOS, refer to the compatibility matrix.
Client Installation
- After downloading the
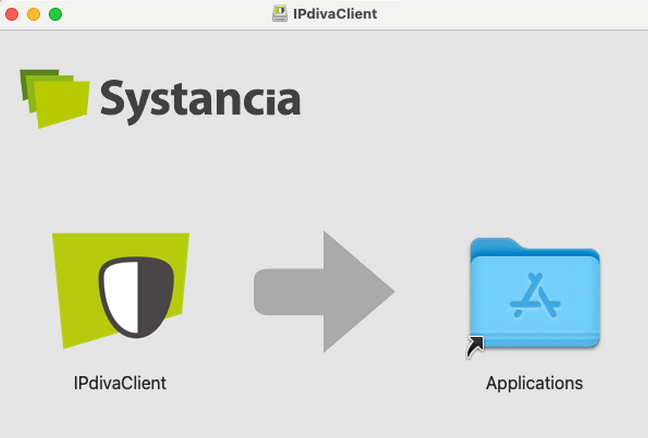
IPdivaClient.dmgclient, run it. - The following window will appear. Drag and drop the client icon into Applications:
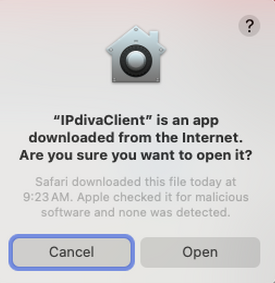
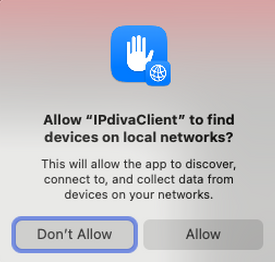
- The installation is now complete, but the first time you use it, you will need to confirm the opening and authorize access to the local network for the client:
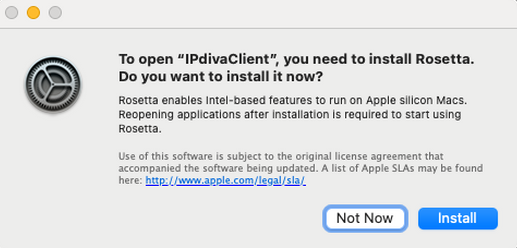
For Macs running on an ARM processor
When using the client for the first time, the following message may appear, prompting you to install Rosetta. Rosetta must be installed for the client to function.
Installation of VPN components
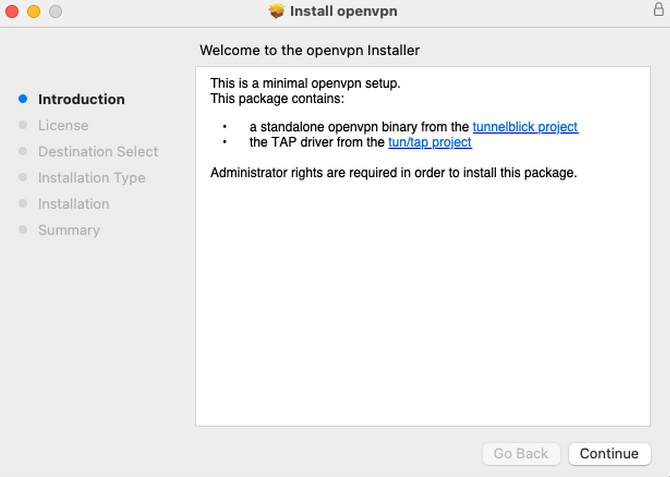
If you are using VPN applications, another component is required for installation: IPdivaVPN.pkg.
- After downloading the
IPdivaVPN.pkgclient, run it. - The setup begins with an introduction that can be skipped without further action:
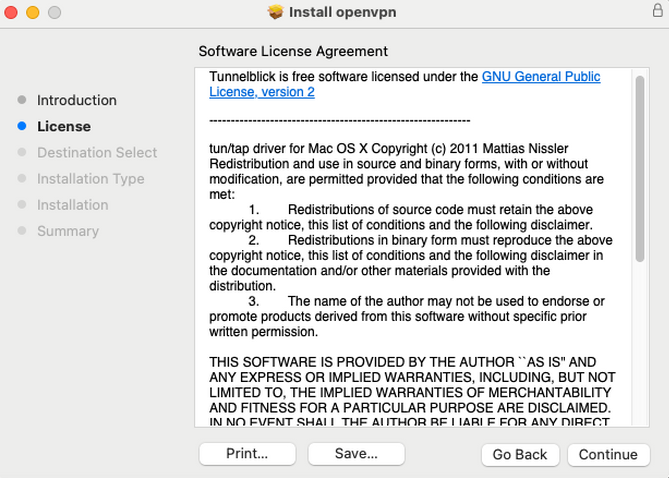
- Then you must accept the terms and conditions:
- Configure the installation for all users:
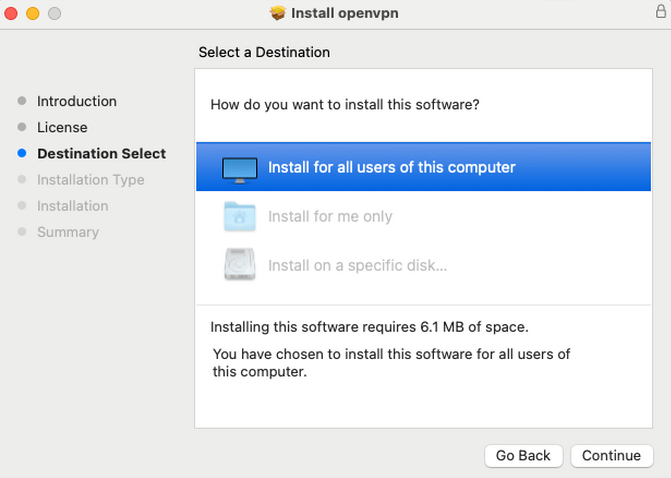
- If necessary, specify the installation disk for the application:
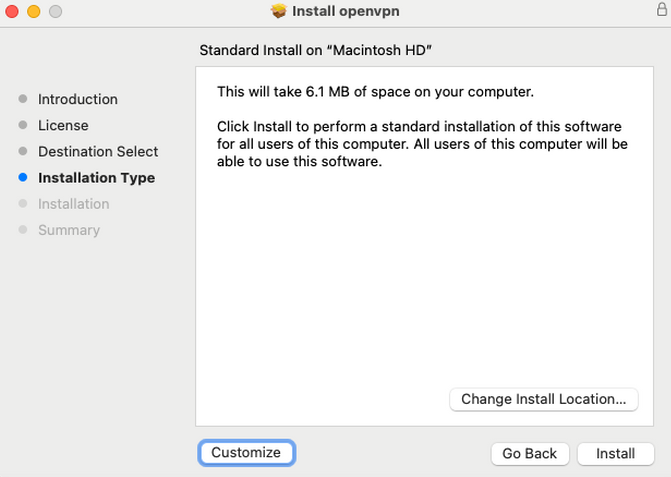
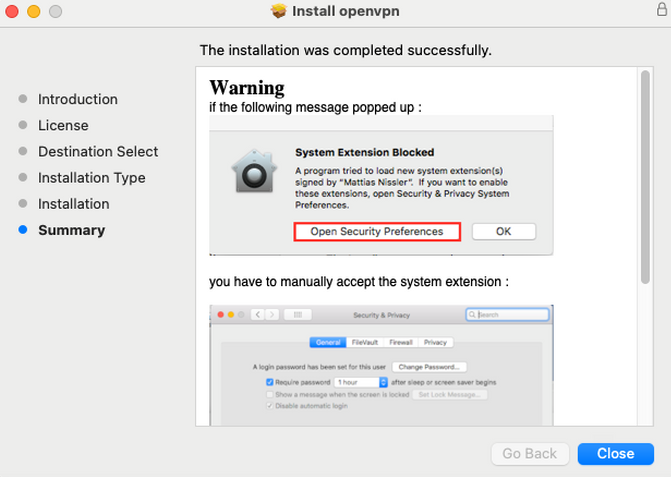
- Confirm the end of the installation:
Installation of the Ubuntu client
Superuser rights required
Superuser rights are required to install the prerequisites.
Client compatibility
To find out about the client's compatibility with different versions of Ubuntu, refer to the compatibility matrix.
- Download the client suitable for Ubuntu
gateclient_linux_x64*.tar.xz. - Open a terminal and navigate to the directory where the client is located.
- Install the prerequisites and the client with the following commands:
1 2 3 4 | |